Hello everyone, in this video, we will provide information on how to use the teacher module of SIPSNITYA.
Lets begin , In the Engagements tab we have various options like calendar , attendance , class dairy , exams , corrections and assignments , now lets go through it one by one. 1st To access the Academic Calendar option, click on it, and the calendar dashboard will be displayed. This interface can be found within the main module. To add an event, simply select the desired date and click on the “Events” tab. Then, click on the “Add New” option and provide the date, event name, and choose the event type, either institution-wise or section-wise, based on your preference. Afterward, save the event, and it will be added to the academic calendar. Holidays are indicated by the color red, while the current day is marked in yellow. Multiple events can be added to the calendar. Please be aware that on holidays, attendance marking, academic updates, class diary entries, and academic-based events are not permitted. Next lets move on to attendance option – In The Day Attendance Marking interface allows us to manage and confirm daily attendance, including half-day attendance, with support for three types: marking attendance once a day, first-half attendance, and second-half attendance. When accessing the dashboard with classes, choose the specific class and, if you wish to mark attendance for the entire day, click on “Mark Attendance.” The student names will be displayed, and you can select the absent students before clicking on “Submit.” This action will trigger a notification to be sent to the parents. For half-day attendance, click on “1st half,” select the names of the absentees, and click on “Submit.” Similarly, you can do the same for the “2nd half” attendance.
Next, let’s explore the “Class Diary” option. Here, you can update all the homework for the selected class that you wish to send. To begin, click on “Class Diary,” then select “Add Diary Notes.” Type in all the homework details, and once you are finished, save the entries. Afterward, click on the “Diary to All” option to send the homework notes to all the students. Next by clicking the “Exam” option, you will be able to view the subjects allocated to you. Here, you can select the desired exam type, choose the class and subject, and click on the “Search” button. This action will display the exam papers relevant to your selection. Next moving on to the “Notebook Corrections” section, teachers have the ability to send correction remarks for their students’ notebooks. To do this, simply click on the “Add New” button. The teacher’s name will be automatically selected. Next, choose the subject and the specific student’s name. Enter the correction remarks in the provided space. Additionally, you have the option to upload images of the corrected notebook, attach audio files, and other relevant documents. Once everything is in place, click on “Save” to store the corrections and related materials. Next To assign tasks to students, click on the “Assignments” option. From there, you can select “Add New” to create a new assignment. Enter the class and subjects for which the assignment is intended. Additionally, you have the option to include videos, files, and attachments to support the assignment.. In the next tab, you will find three sections: “Leaves,” “Enquiries,” and “Remarks.”
In the “Leave” option, click on “Add New.” Select the student for whom you want to request leave, then choose the type of leave. Enter the date and the number of days required for the leave. Next, provide the reason for the leave, guardian name, and their relationship status. Additionally, you can add contact details and the address. Once all the information is entered, save the leave request. To check the status of the leave, click on the “Leave Pass” option. This will allow you to monitor the progress of the leave request.
Next moving on to the “Enquiries” option, you can view any enquiries that have been made. Each inquiry will be listed with the name of the person making the inquiry, their respective class and section, and the provided mobile number. Additionally, the date on which the inquiry was made will be displayed for your reference. In the “Remarks” section, you have the option to add individual remarks for specific students. To do this, click on the “Add New” button. Select the student’s name for whom you wish to provide remarks. Enter the relevant remarks about the student in the provided space. If necessary, you can also add audio recordings and attach files to support the remarks. Once everything is entered, click on “Save” to store the remarks for that student.
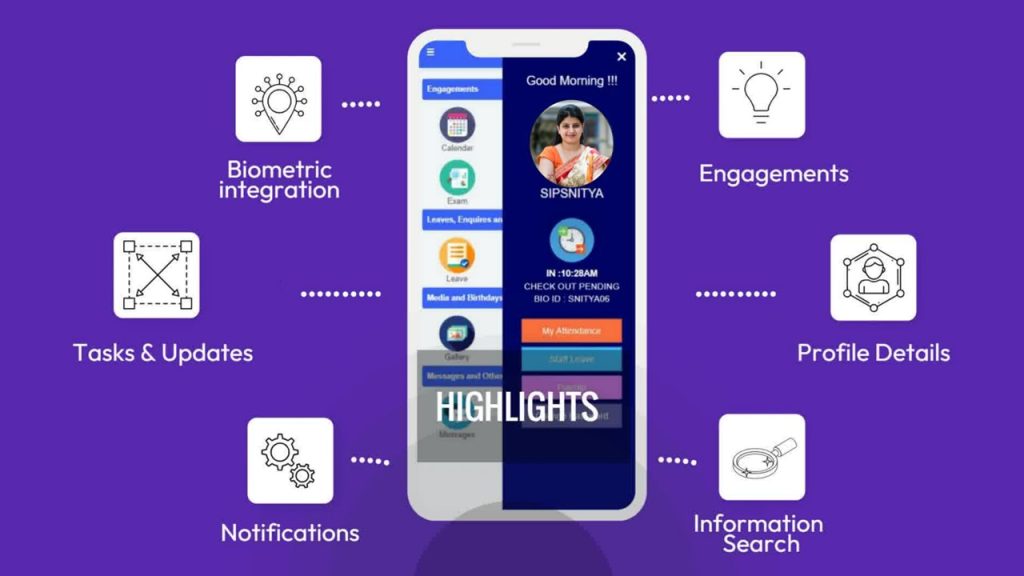
SIPSNITYA – Familiarize the Teachers APP dashboard.